How to Wind and Load a Bobbin (Beginner Sewing Guide)
(Or: The part that looks small, but changes everything)
This isn’t just prep. It’s the quiet step that keeps your thread from snarling later. If bobbin-winding has ever made you want to quit, you’re not alone—and you’re not bad at this.
Before we start: You’re not behind.
Winding a bobbin isn’t glamorous. It’s not the part people show off.
But it’s often the first moment where someone thinks:
“Wait… I’m already lost.”
That thought alone can be enough to stop. So here’s the reminder:
You’re allowed to be here, uncertain. You’re allowed to slow this way down. You’re allowed to try twice—or ten times—without apology.
Step-by-Step How to Thread the Bobbin on a Sewing Machine
Winding and loading the bobbin is one of the most overlooked steps in learning how to use a sewing machine—but it’s often where the most frustration begins. This is a soft tutorial on how to thread the bobbin, load it, and gently fix common tangles.
This sewing machine bobbin tutorial won’t rush you. You’ll learn not just what to do, but how to move through each step slowly, with care.
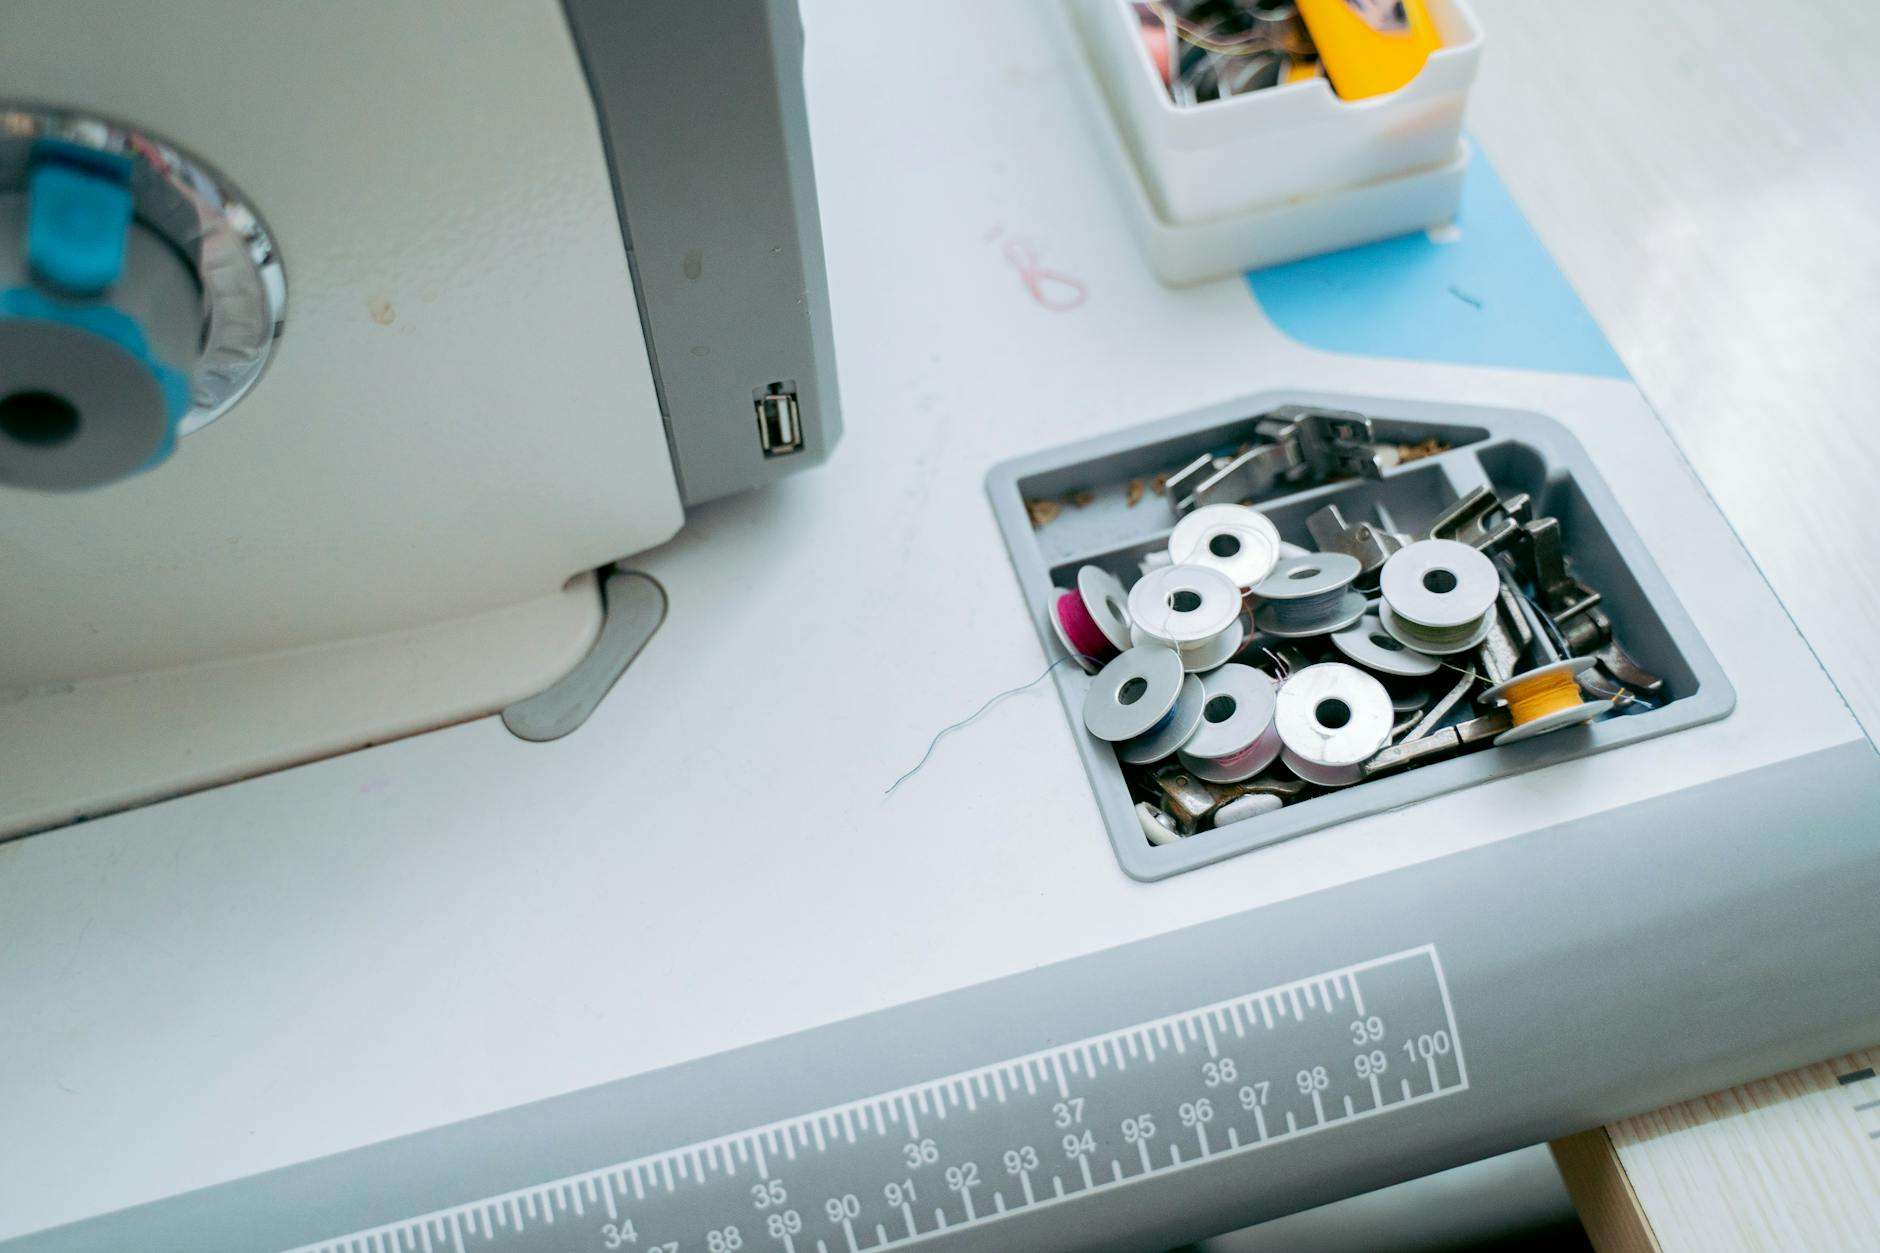
Step One: Find your bobbin.
Every machine uses slightly different bobbins. Yours might be plastic or metal. It should match your machine model.
This is what you’re looking for:
_____
| |
| | ← small, flat spool
|_____|
Grab an empty one. Let it feel ordinary in your hands.
Nothing special. Nothing mystical. Just a place for thread to rest.
Step Two: Place the thread spool.
Find where your thread spool goes—usually a vertical or horizontal pin at the top.
Place it gently. Let the thread unwind toward you.
This isn’t threading yet. It’s just setup.
Step Three: Guide the thread to the bobbin winder.
Most machines ask you to:
- Pull the thread from the spool.
- Loop it through a small tension disc (often near the top).
- Bring it across to the bobbin winder post.
It might look something like this:
[Spool] —(T)—→ [Bobbin Post]
\
Tension Disc
Let the thread wrap around the bobbin a few times manually to anchor it.
You can pause here. Let it feel okay to reread the steps.
Step Four: Engage the bobbin winder.
Push the bobbin post to the side or click it into winding position—every machine does this a little differently.
You’ll often hear a “click.” Some machines disengage the needle automatically when winding.
Now: gently press the foot pedal.
Let the bobbin spin.
Not fast. Just enough.
Watch the thread build slowly. Evenly. Imperfectly.
If it goes lumpy or uneven? Pause. Snip. Try again.
This isn’t broken. This is learning.
Step Five: Stop when it’s comfortably full.
You don’t need to max it out.
When the bobbin feels full (but not tight), stop the winding.
Snip the thread.
Slide the bobbin off the post.
Hold it in your hand. You made that. It counts.
Step Six: Drop the bobbin into the machine.
Some machines have a drop-in bobbin case. Others use a front-loading system.
Either way:
- The bobbin should unwind in a specific direction—usually clockwise.
- There’s a small groove where the thread slips under tension.
Let it look unfamiliar. Let your hands hesitate.
Nothing is wrong.
Once in place, pull the thread gently and watch it resist slightly. That means the tension is working.
Step Seven: Pull the bobbin thread up.
Hold the top thread with one hand.
Turn the handwheel slowly toward you.
The needle will go down, then come up.
You’ll see a loop of bobbin thread emerge.
Use something small—a seam ripper or your fingers—to pull it fully out.
Now both threads rest gently toward the back of the machine.
That’s it.
That’s all it ever was.
You did something small and stubborn and invisible. And it matters.
You made the machine ready.
You let yourself linger.
You came back when it tangled.
This wasn’t filler. This was foundational.
What to Do If It Gets Tangled
First—pause.
That loop, that snarl, that moment where the thread winds uneven or bunches up? It doesn’t mean you failed. It means the machine is showing you something.
And you’re allowed to listen, not fix.
Here’s what to try:
- Stop the winder.
Let everything still. Take your foot off the pedal. No rush. - Snip the thread.
At the spool or bobbin—wherever’s easiest. Tangled doesn’t mean ruined. You can begin again from wherever it feels kindest. - Slide off the bobbin.
If it’s lumpy or messy, set it aside. Some people reuse tangled bobbins for basting or hand-sewing. You’re not wasting. You’re learning. - Start fresh, gently.
Wrap the thread onto a new empty bobbin by hand—just a few times to anchor it. Then re-engage the winder and go slower this time.
Let the tension disc catch the thread. Let the hum return.
You’re not late.
You’re not wrong.
This isn’t a setback. It’s just one more loop in the learning.
Want to keep going? Only if you want.
→[Threading the Sewing Machine]
Learn how to thread the top of your machine after your bobbin thread is in place.
→ [First Stitches Without Fear]
Gentle sewing without perfection. Just presence.
Sew What by Winter is a quiet place for beginners and re-beginners. You’re always welcome here, exactly as you are.
Have questions about your machine model or a step that felt unclear? Drop them below and I’ll help.