What’s the Seam Ripper Red Ball Purpose?
(Spoiler: It’s not decorative.)
If you’ve ever looked at that tiny red dot and thought, “Is that just… there?”—you’re not alone. But it turns out, this quiet little feature has a purpose. And it’s brilliant.
The seam ripper isn’t the only sewing tool with a hidden purpose — even classic items like the tomato pincushion have a surprisingly thoughtful history.
That red ball isn’t a flourish. It’s a safeguard.
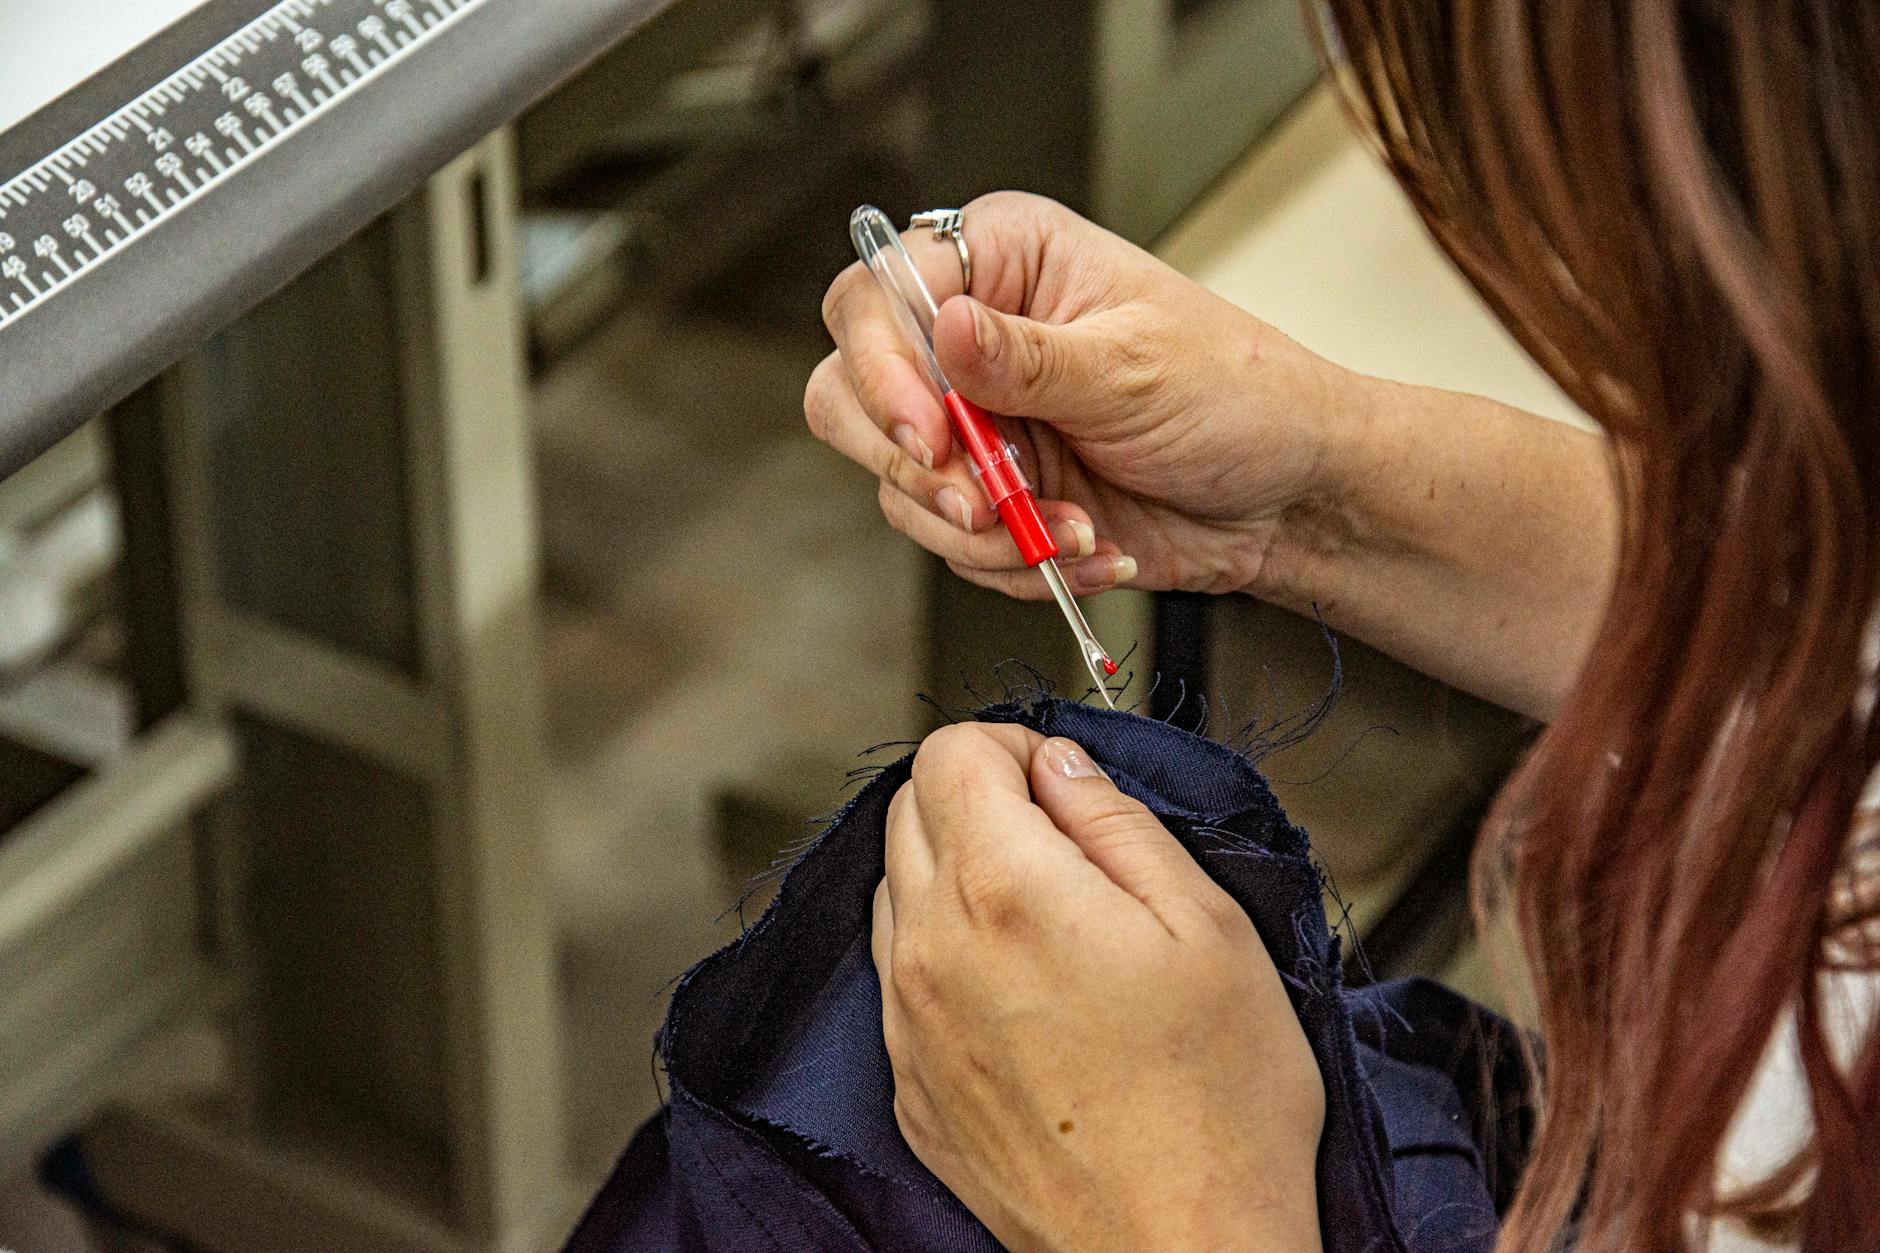
The next time you’re using a seam ripper, look closely at the tip.
You’ll see the sharp metal fork has two prongs: one sharp and pointed, the other tipped with a little red bead.
The red ball is there for one reason:
To protect your fabric from tearing while you rip stitches.
When used properly, that ball should go under the fabric—between the layers—as you slide the ripper forward.
How to Use a Seam Ripper Properly (Step-by-Step)
Think of the seam ripper like a tiny, forked blade. The pointed side is meant to slide into the seam and catch the threads. The red ball glides beneath the fabric, gently lifting the top layer without cutting it.
Together, they let you remove stitches cleanly without slicing the cloth.
- Position the seam toward you.
- Slide the pointed tip into the stitch you want to remove.
- Place the red ball underneath the fabric to protect it.
- Gently push forward so the blade cuts the thread.
- Continue slowly until the stitches are removed.
Fabric Layer
————————
^
Red Ball glides here (under)
Sharp tip lifts thread (above)
It’s one of those tools designed with forgiveness in mind.
Why it matters
When you’re learning to sew—or even if you’ve sewn for years—mistakes happen.
Seam rippers are already humbling. The red ball makes undoing softer.
It gives you margin. It gives your fabric a second chance. It gives you permission to take something apart without ruining it.
And that’s not a small thing.
Common Seam Ripper Mistakes Beginners Make: Using it upside down
Most people (especially beginners) instinctively use the sharp side under the seam—thinking they need to cut “beneath.”
But that’s the risky position. That’s where fabric gets stabbed or shredded.
When you turn it so the red ball is underneath, you’re guiding the ripper safely along the seam, letting it catch thread—but not cloth.
One tiny red ball = one quiet act of protection
The more you sew, the more you learn to appreciate the small things:
A presser foot that lowers smoothly. Thread that doesn’t tangle. A bobbin that winds without judgment.
And yes—a red ball on a seam ripper, reminding you that undoing can be done gently.
You’re allowed to go back. You’re allowed to change your mind. You’re allowed to fix it without damage.
Even that is part of sewing.
If you’re just beginning your sewing journey, it’s comforting to know that even the tools in your basket have a story behind them.
Seam Ripper FAQs
Why is there a red ball on a seam ripper?
Answer: It protects the fabric and guides the tool between layers as you cut stitches.
Can a seam ripper tear fabric?
Answer: It can if used upside down — that’s why guiding with the red ball matters.
When is a seam ripper useful?
Answer: Anytime you need to undo stitches, open buttonholes, or correct mistakes.
Sew What’s Next?
If this tiny tool surprised you, you’re not alone. Sewing is full of clever little details — the kind that quietly make mistakes less stressful and learning feel kinder.
- 🍅 Why Pincushions Are Shaped Like Tomatoes
A familiar sewing tool with a surprisingly thoughtful history.- 🧷 10 Essential Sewing Tools Every Beginner Actually Needs
Just the tools that help sewing feel more doable — not overwhelming.- 🧵 Beginner Sewing Roadmap: Start Sewing Without Overwhelm
A gentle path forward for curious beginners.Because sewing isn’t about getting it right the first time — it’s about knowing you have the tools to fix it when it goes sideways.
Sew What by Winter is a quiet place for beginners and re-beginners. You’re always welcome here, exactly as you are.